Make Your Home Computer Reachable From Anywhere (No Public IP, No Router Touching)

With Tailscale + NoMachine within only ~10 minutes!
Imagine your home computer was available to you from everywhere.
Imagine: you open your laptop in a café, type one address, and you’re connected to your machine at home — files, tools, servers, everything. And you could even run heavy calculations on it while sparing the battery of your notebook!
That’s the dream. And the moment you try to build it, you discover the old rule: to reach a computer from the outside, it must be reachable from the outside.
Traditionally that means asking your internet provider for a public IP, a “public IPv4 and remove CGNAT” or a “static IP add-on,” then configuring your router for port forwarding. It works — it’s just takes a lot of time to set it up. Not only that, they come with an add-on price tag.
Now imagine: you can get the same result without buying a static IP, without waiting, and without touching your router. - Instantly! Within 10 minutes of installing and setting up (if everything goes smoothly - but I am helping you here to save the tinkering time, by telling you what I had to find out myself).
Let me introduce you to Tailscale (and then we’ll bolt on NoMachine, because you probably want a real desktop, not just SSH).
I really wished I would have known about this much earlier! And so will you!
What we need
- Tailscale: makes your laptop + home machine behave like they’re on the same private LAN (even across the internet, across CGNAT with periodically changing IP addresses, across your devices, as long as each of them has Tailscale installed and running).
- NoMachine: gives you a stable remote desktop session (typing feels normal, clipboard works, OAuth/browser stuff behaves, copy/pasting works out of the box without the need of configuring it).
That’s all. So easy!
Step 0 — Decide who is “Home” and who is “Travel”
- Home machine: the computer you want to reach (Windows / Linux / Mac).
- Travel machine: your laptop (MacBook in my case).
You’ll install Tailscale on both.
You’ll install NoMachine on both, too! On the home machine (server) and on your laptop (client).
Step 1 — Install Tailscale on macOS (your travel laptop)
If you like Homebrew:
brew install --cask tailscale-app
open -a Tailscale
Log in once in the Tailscale app. Done.
(If your travel machine is a Linux or Windows, just follow the instructions on Step2).
Step 2 — Install Tailscale on the home machine
Linux (home)
curl -fsSL https://tailscale.com/install.sh | sh
sudo tailscale up
Windows 10 (home) — the clean Scoop route
Open PowerShell and run:
Set-ExecutionPolicy -ExecutionPolicy RemoteSigned -Scope CurrentUser
iwr -useb get.scoop.sh | iex
scoop bucket add extras
scoop install tailscale
Then open Tailscale and log in.
Step 3 — Get the home machine’s Tailscale IP address
On the home machine (or anywhere you have the Tailscale CLI):
tailscale ip -4You’ll get something like this: 100.xxx.xx.xxx
That’s your “private LAN across the internet” address.
Optional you can get it by:
tailscale statusYou should see both machines listed.
Test from your client machine (laptop) whether the IP address of the home is reachable:
ping 100.xxx.xx.xxxThere should be a positive result.
Step 4 — Install NoMachine
Linux (home machine)
Go here and download the Linux package:
https://www.nomachine.com/everybody/nomachine-for-your-osInstall the .deb (Ubuntu/Debian example):
sudo dpkg -i nomachine_*_amd64.deb
sudo apt -f install
Windows 10 (home machine)
Same download page, pick Windows installer, install normally.
macOS (travel laptop)
brew install --cask nomachineFirst launch on macOS: give it the permissions it asks for (Screen Recording etc.). Remote desktop apps need them.
Step 5 — Quick “is the path open?” test (optional, but satisfying)
From your MacBook, test NoMachine’s default port on the home machine’s Tailscale IP:
nc -vz 100.xxx.xx.xxx 4000If that connects, you’re golden.
(Port 4000 is the default NoMachine NX port.)
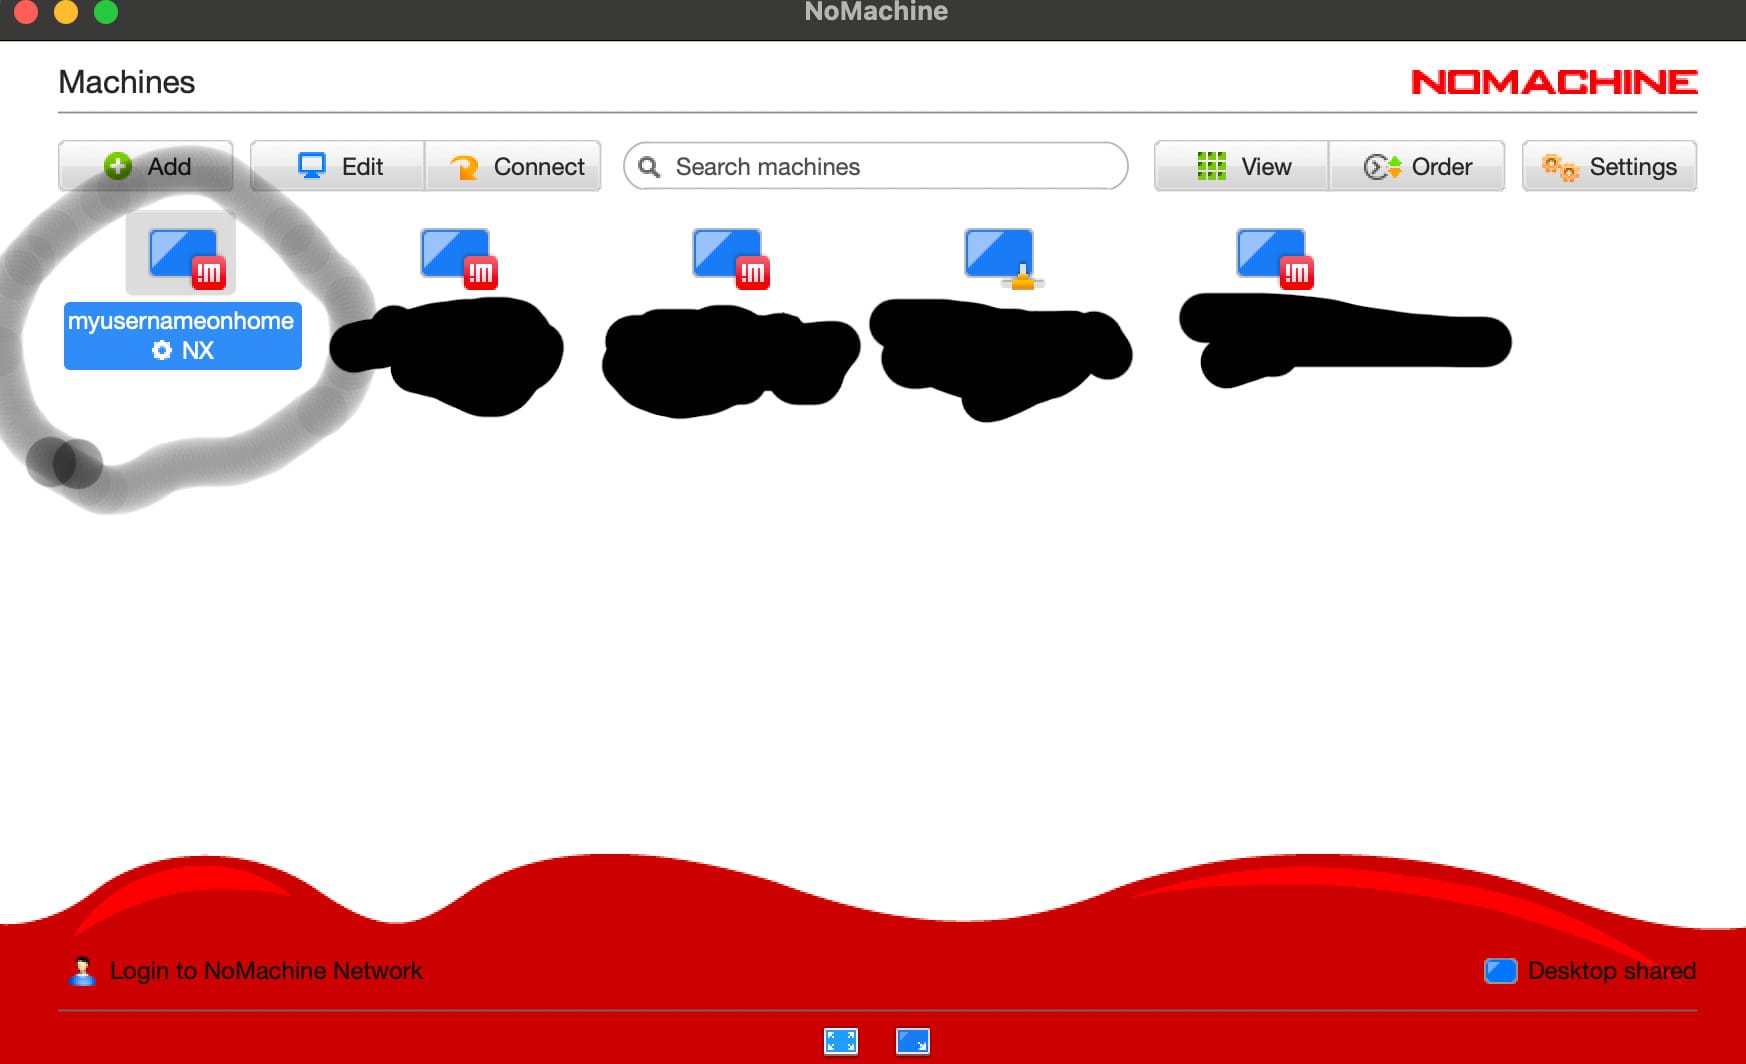
Step 6 — Connect with NoMachine over Tailscale
On your MacBook:
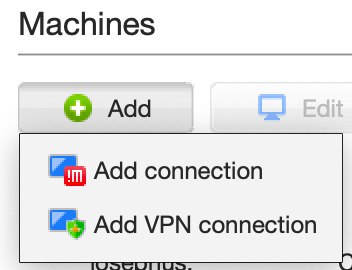
- Open NoMachine
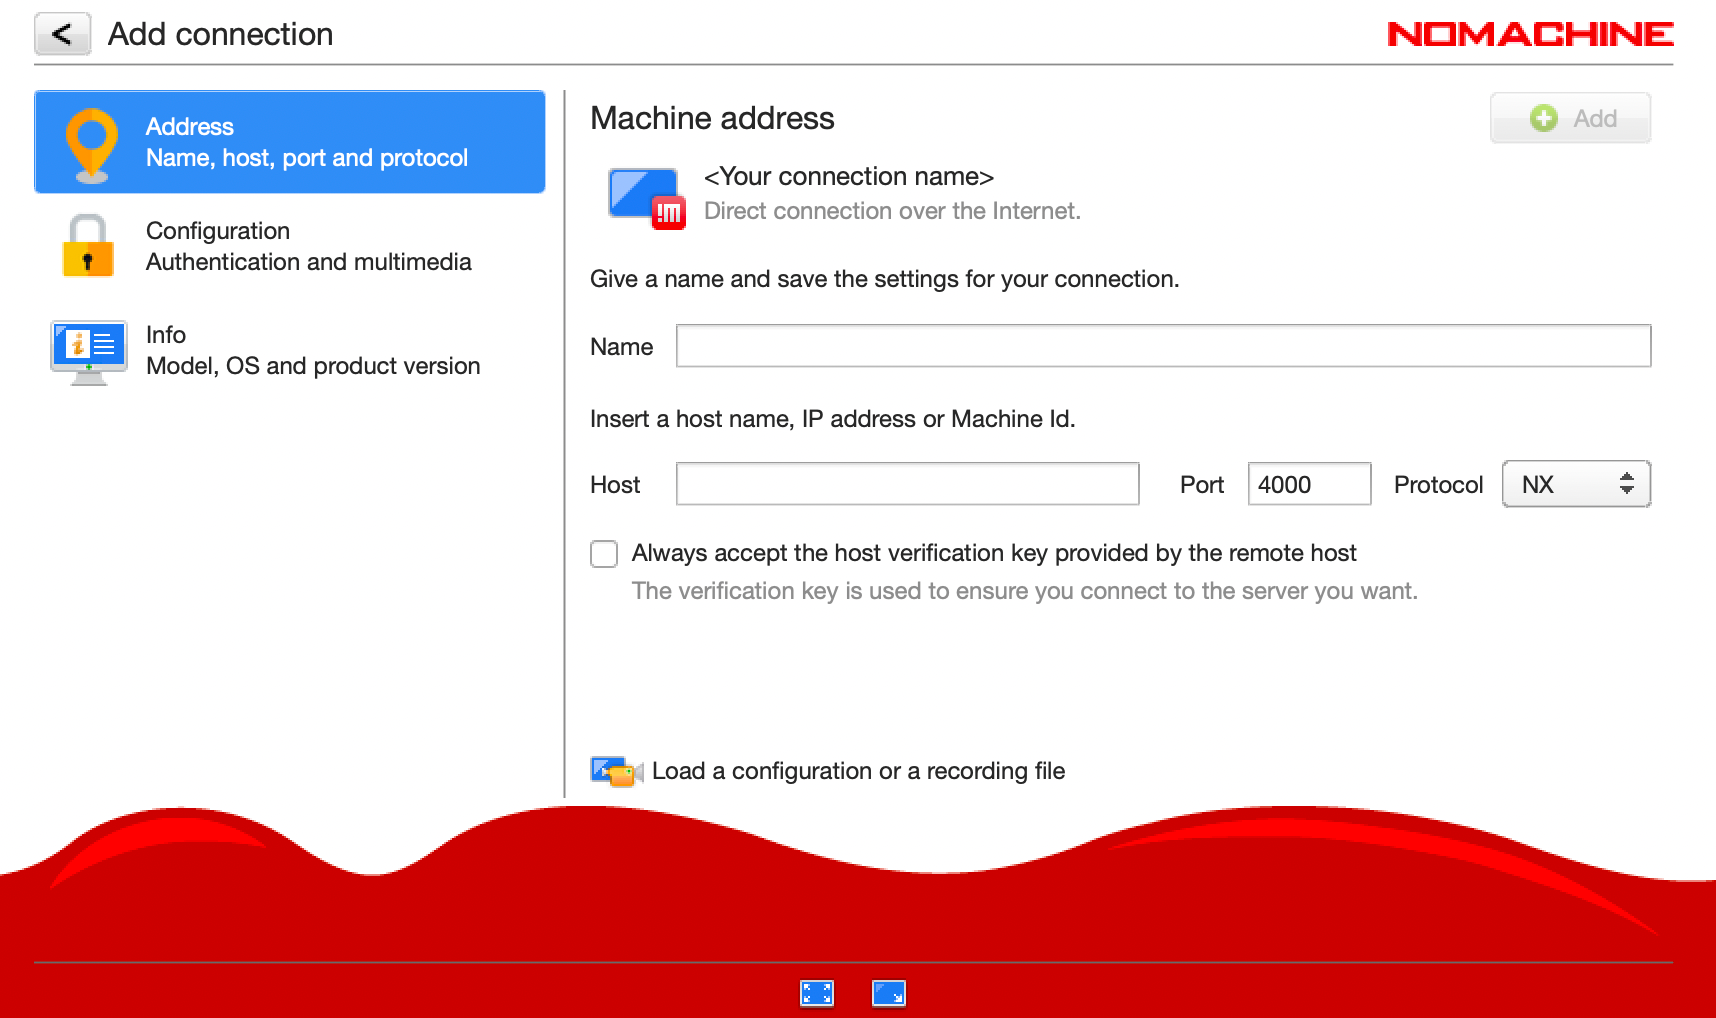
- Create a new connection
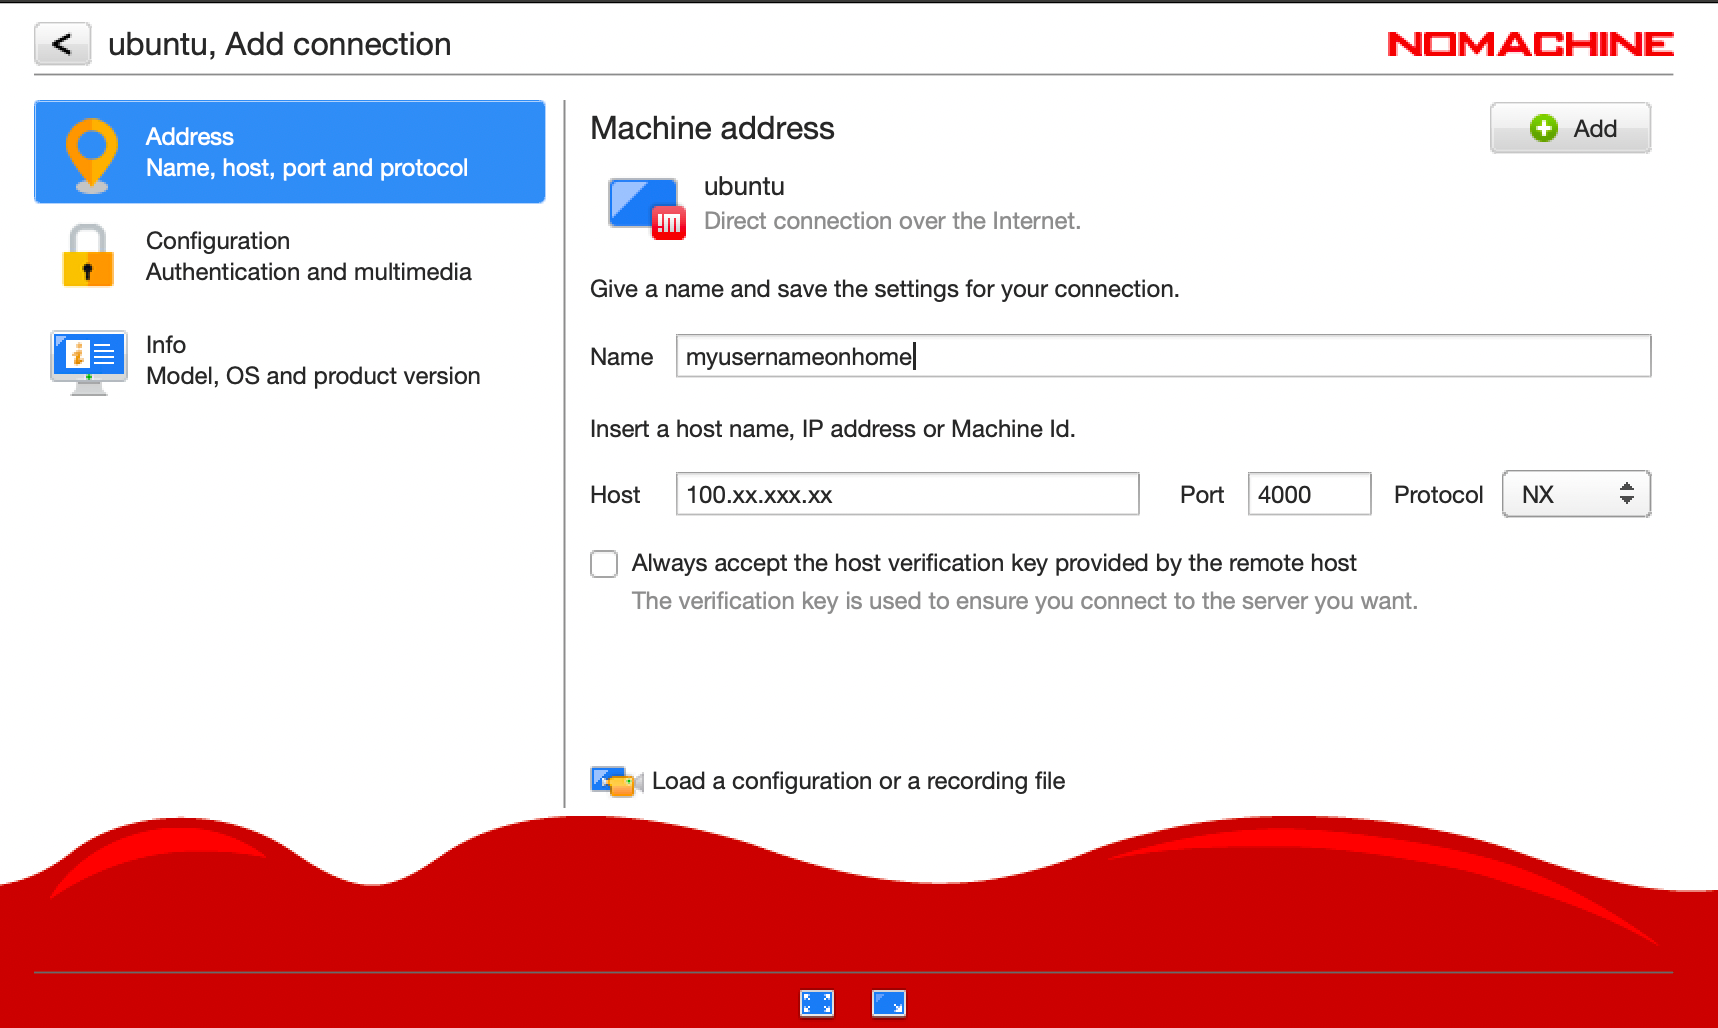
- Host: the home machine’s Tailscale IP (100.xxx.xx.xxx)
- Port: 4000
- Connect and log in with your normal OS user
Now you’re on your home desktop… from anywhere… without your router ever noticing.
That’s the whole trick
You didn’t “expose” your home machine to the public internet.
You didn’t buy a static IP.
You didn’t fight router UI archaeology.
You just gave your two devices a private network path (Tailscale) and used that path for a proper desktop session (NoMachine).
Mini checklist
On both machines
- Install Tailscale
- Log in
- Confirm tailscale status shows both
- Install then NoMachine on both
On your home machine
tailscale ip -4 # or tailscale statusto get the tailscale IP address (100.xx.xxx.xxx)
- start yoru NoMachine
On your laptop
- start NoMachine
also here and setup a new connection in NoMachine to your home machine.
You need for this - your username and password of your home machine and the tailscale IP address of your home machine.
Sanity test
nc -vz <tailscale-ip> 4000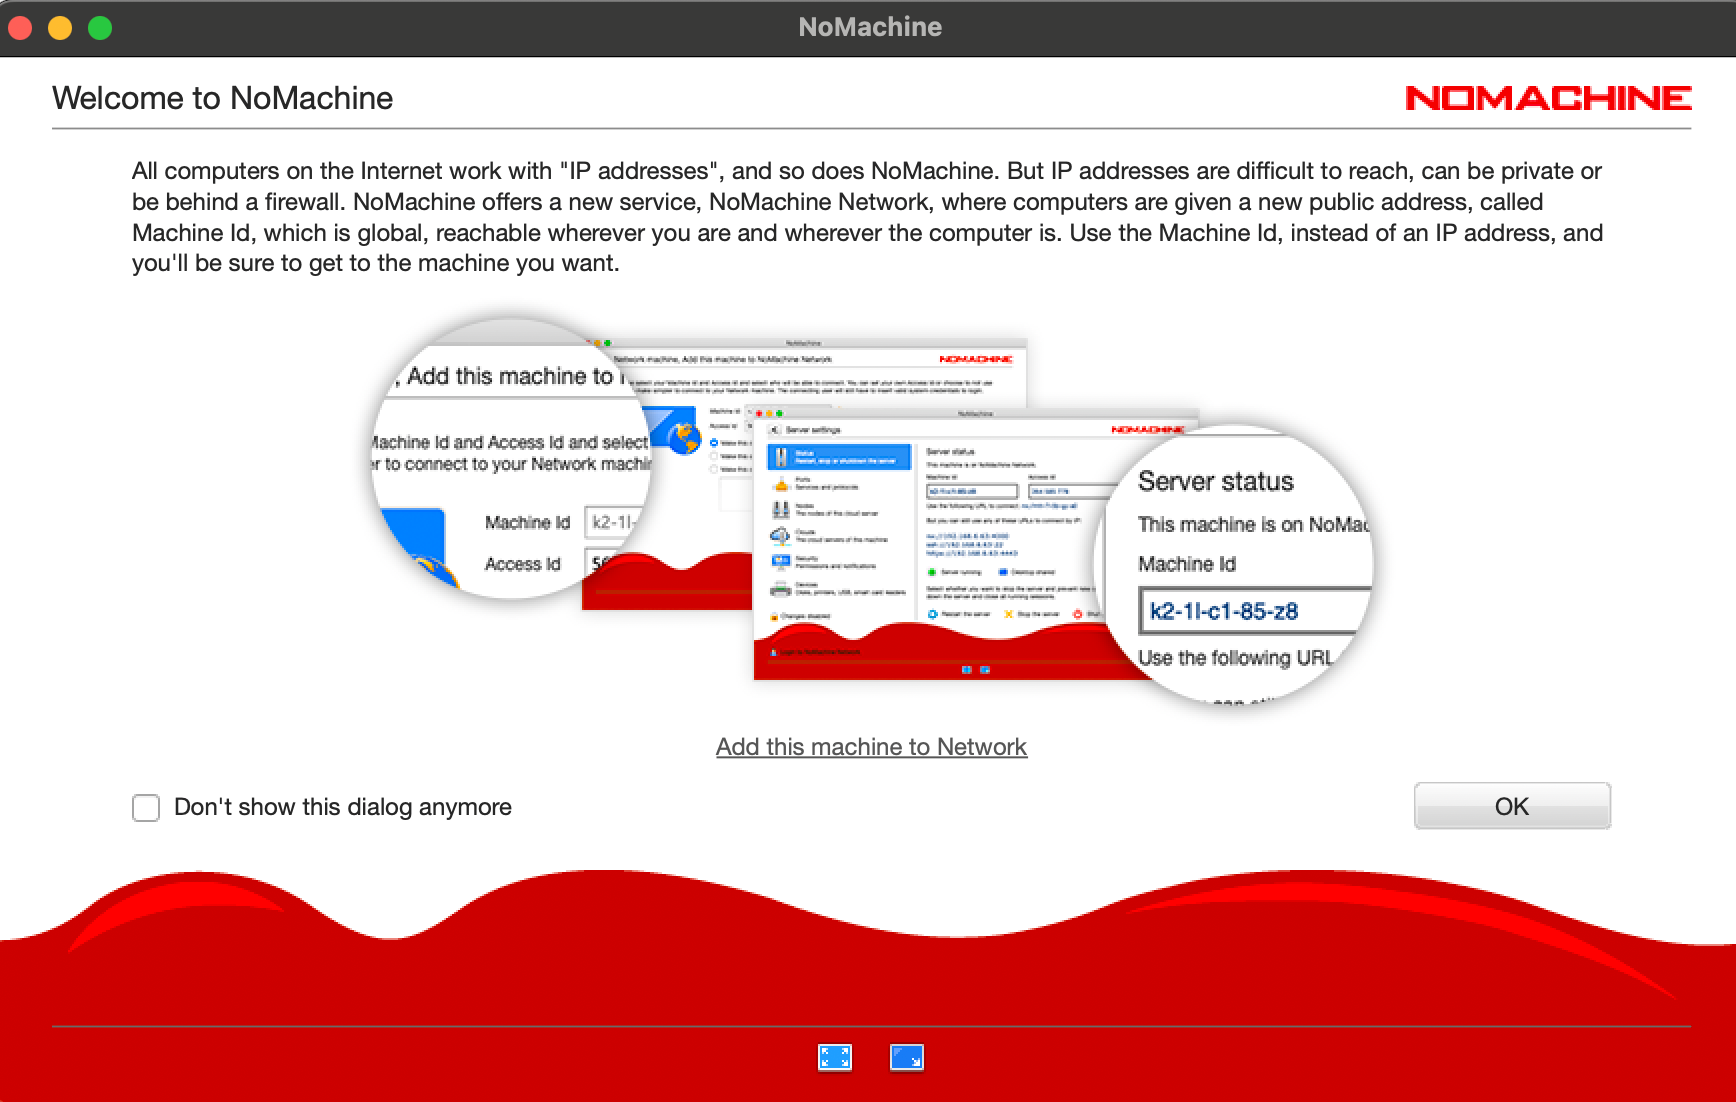
You have to click through several pages instructions/explanations by clicking on the OK button on bottom left.
After double clicking, you will be connected to your target (home) machine!
You can then remotely control that machine with mouse and keyboard!
In my case, my target machine is a Linux and my client machine is a MacOS. That gives of course keyboard-wise some complications. I am used on my Mac to press the Cmd button - but when I control my Linux machine through NoMachine, from the Mac screen - I have to use the Ctrl button. But soon, your brain will get adapted to it.
Enjoy!