Run Antigravity Remotely and Save Your MacBook Battery

Because Antigravity turns your laptop into a heater — and your old i7 box is happy to do the heavy lifting.
My MacBook and Antigravity have a too passionate relationship.
You open Antigravity, everything is fine for three minutes, and then your laptop starts role-playing a geothermal power plant. Fans spool up, the chassis gets hot, battery life evaporates, and you’re sitting there thinking:
“Why am I doing this on the machine I’m literally trying to use to work?”
I don’t have a Mac mini - everybody is buying now - lying around. But I do have an older Linux desktop with an i7 that was mostly collecting dust, quietly judging me from the corner like:
“I was built for sustained workloads. You know this.”
So I turned that Linux machine into my Antigravity engine — while my MacBook can stay cool and a quiet control terminal.
This article is the exact setup, written for you not to have to waste time fiddling the correct setup that works.
What We’re Building
Goal:
- Antigravity runs on your Linux desktop (the i7 box).
- You control it from your MacBook over the same Wi-Fi (via SSH), remotely.
- The Antigravity window shows up on your MacBook.
- Your laptop stays cooler and battery lasts longer.
How:
We’ll use SSH with X11 forwarding:
- SSH handles the secure connection.
- X11 forwarding streams the GUI window over that connection.
This is not exactly a “remote desktop.” But it is a remote control of the antigravity window:
“Run the program there, but draw the window here.”
Step 0 — Find Your Linux Desktop on the Network
On the Linux machine, you need its local IP address.
Use either of these:
ip aor the quick “just give me the IP” version:
hostname -IYou’re looking for something like 192.168.279.23 (yours will differ).
Quick sanity check: can your MacBook reach it?
On macOS:
ping 192.168.279.23If this works, your Wi-Fi routing is fine. If it doesn’t, pause and fix the basics first (wrong IP, different Wi-Fi, guest network isolation, firewall, etc.).
Step 1 — Make Sure the Linux Machine Actually Accepts SSH
This is the part everyone assumes is already true.
It often isn’t.
On Linux, check if the SSH server is running:
sudo systemctl status sshIf it says it’s missing or inactive, install and enable it.
On Debian/Ubuntu:
sudo apt update
sudo apt install -y openssh-server
sudo systemctl enable --now ssh
Now your Linux desktop is officially “reachable.”
Sometimes you have to set your firewall to permit port 22. I didn't need to.
Step 2 — Connect From the MacBook
On your MacBook:
ssh -Y youruser@192.168.279.23A few notes:
- -Y is the “trusted” form of X11 forwarding. Many GUI apps behave better with it than -X.
- Use your actual Linux username (youruser), not your Mac username (unless they happen to match).
Step 3 — The “Don’t Waste Your Time” X11 Test: xclock and xeyes
Before starting Antigravity, you want to confirm that X11 forwarding is actually working.
From inside that SSH session, run:
xclockThen:
xeyesIf those little X11 apps appear on your MacBook, you’ve proven the pipe works.
If they don’t, stop there. Don’t debug Antigravity before the plumbing works.
Important macOS detail: XQuartz must be running
Your MacBook needs an X server. That is XQuartz.
Start XQuartz first, then do the SSH session.
This is the most common reason for “why does localhost:10.0 not open.”
Step 4 — Start Antigravity Remotely
Now, the naive move is:
antigravityThat will often open fine over X11 forwarding.
But then you meet the real boss battle:
The blue button: “Log in with Google”
You click it.
Nothing happens.
It looks like a dead button, but what’s really happening is:
- Antigravity tries to open a browser for OAuth (Google login).
- Over X11 forwarding, browser launching is surprisingly fragile.
- Sometimes the browser can’t open at all.
- Sometimes it opens on the wrong machine.
- Sometimes it needs callback ports and gets confused.
So the real fix is: don’t make login happen every time.
Make it happen once, persist it, and then reuse that session.
Step 5 — The Trick That Saved This Setup: Use --profile, Not --user-data-dir
Antigravity supports:
--user-data-dir--profile
The –-profile one wins.
Why --user-data-dir is a trap here
In theory, --user-data-dir should store your cookies and login state in a chosen directory.
In practice, with X11 forwarding, it can trigger X11 authentication weirdness. We saw errors like:
- X11 connection rejected because of wrong authentication
Because some parts of the app end up not using the same X11 cookie/authority file that the SSH session negotiated.
Result: the app opens locally (in your linux, despite invoked remotely), or crashes, or refuses to connect to the forwarded display.
--profile is the clean solution
--profile keeps separate persistent state without messing with the deeper Chromium “user-data-dir plumbing.”
So on the Linux machine (still inside SSH):
antigravity --profile myprofileLog in once (yes, still with the blue Google button). Once it works, you’re done.
From now on, every time you connect from your MacBook, you run:
antigravity --profile myprofile…and it starts already logged in.
This is the whole win.
Your Final “Daily Driver” Routine
On Linux (once)
- Make sure SSH server is installed and running.
- Confirm Antigravity exists and works locally once.
On MacBook (every day)
- Make sure XQuartz is running
- SSH in:
ssh -Y youruser@192.168.178.23- Start Antigravity with your profile:
antigravity --profile myprofileYou get:
- Antigravity running on the i7 Linux box
- GUI window on your MacBook
- MacBook stays cooler
- Battery life returns from the dead
A Tiny Troubleshooting Section (Because Reality)
“It opens on the physical Linux screen, not on my MacBook”
That means Antigravity saw DISPLAY=:0 on Linux.
Inside the SSH session, check:
echo $DISPLAYIt should look like:
localhost:10.0(good)
If you see :0, something in your shell startup files overwrote it (or you’re running inside a tmux session created locally). Fix the override and reconnect.
“Google login button still does nothing”
That’s usually browser/OAuth integration failing.
The good news is: with --profile, you only need to solve it once. If you can get it to log in one time (even locally on Linux), then the profile keeps it.
“Why not remote desktop?”
You can. NoMachine is fantastic.
But SSH+X11 forwarding has a special charm:
- minimal overhead
- no full desktop streaming
- one window when you need it
It’s the “remote GUI scalpel,” not the “remote desktop sledgehammer.”
The Actual Lesson Here
This setup looks like a simple idea:
“Run heavy app on stronger machine.”
But the difference between a plan and a working setup is always the same boring thing:
- networking basics
- SSH server availability
- verifying the GUI pipe with trivial apps
- and using the one flag that doesn’t trigger auth weirdness (--profile)
If you do it in this order, it’s clean.
If you don’t, you end up debugging Google login, OpenGL contexts, X11 cookies, and spiritual despair — all at the same time.
Which is a hobby, technically. Just not one you asked for.
An additional hint: Using --profile you can create more accounts - connect via your other gmail addresses - to use antigravity for free as long as the limits allow. I do this to try out ideas and come back to my paid account profile - and in this way you can extend your limits.
In the following, I just summarize what we did so far:
Checklist
0) Find the Linux IP
On Linux:
hostname -I
# or
ip a
Pick the 192.168.x.y / 10.x.y.z address.
On Mac (replace with your Linux IP):
ping 192.168.178.231) Ensure SSH server exists (Linux)
On Linux (Ubuntu/Debian):
sudo apt update
sudo apt install -y openssh-server
sudo systemctl enable --now ssh
sudo systemctl status ssh
2) Make sure XQuartz is running (Mac)
On Mac:
open -a XQuartz # install by `brew install --cask xquartz`(Leave it running.)
3) SSH with X11 forwarding (Mac → Linux)
On Mac (replace user + IP):
ssh -Y youruser@192.168.279.234) Verify X11 forwarding (inside SSH session on Linux)
On Linux (inside the SSH session):
sudo apt install -y xauth x11-apps
echo "DISPLAY=$DISPLAY"
xclock &
xeyes &
If you see the windows on your Mac, you’re good.
5) Run Antigravity with a persistent profile (inside SSH session)
On Linux (inside the SSH session):
antigravity --profile myprofileFrom now on, every time you connect, you’ll use the same command:
antigravity --profile myprofileMicro-troubleshooting cheatsheet
Antigravity opens on the Linux monitor (not on the Mac)
Inside the SSH session:
echo $DISPLAYIf it’s :0, something overwrote it. Start a fresh SSH session and avoid running inside a tmux session created locally on Linux.
X11 apps don’t show on Mac
- Ensure XQuartz is running.
- Ensure Linux has xauth:
sudo apt install -y xauth x11-appsDon’t use this flag for this setup
Avoid:
--user-data-dirIt can cause X11 authentication failures in this workflow. Use:
--profileHappy hacking and have a lot of fun with Antigravity!!
Epilogue: When SSH X11 Forwarding Is Enough — and When It Isn’t
Here’s the honest ending I wish someone had told me at the beginning:
SSH + XQuartz is perfect… until you try to really write.
When I’m “vibecoding” — clicking buttons, letting Antigravity generate code, reviewing output, moving fast — the SSH/X11 setup is great. The window shows up on my MacBook, the Linux i7 does the heavy lifting, and my laptop stays cool.
But the moment I switch into “real editing mode” — manually changing lots of text inside the VSCode-like editor — things get weird:
- I type a few characters…
- the cursor jumps back
- letters disappear or overwrite earlier text
- the editor feels like it’s losing the plot mid-sentence
The hilarious part is: the chat input field is fine. It’s only the file editor that gets unreliable.
That’s not Antigravity being broken. That’s just the reality of Electron/Monaco editors over X11 forwarding: the editor repaints constantly, X11 forwarding is chatty, Wi-Fi adds jitter, and the result is a UI that occasionally “time travels” while you type.
So: X11 forwarding is excellent for “remote app window” usage.
But if you want Antigravity to feel like a normal interactive desktop app — especially while editing text — you need a remote desktop protocol that’s built for that job.
For me, that solution is NoMachine.
NoMachine: The “Okay, I Actually Want to Type” Fix
Once I switched to NoMachine, all the pain points disappeared instantly:
- the VSCode editor typing is stable
- copy/paste behaves like a normal desktop
- the Google login button works without hacks
- everything feels… boring
And boring is exactly what you want from remote desktop.
1) Confirm the server port is reachable
Before installing anything, I checked the NoMachine port on the Linux machine (default is 4000):
nc -vz 192.168.279.23 4000This succeeded — so I knew networking and firewall were not the issue.
Linux: Install NoMachine (Server)
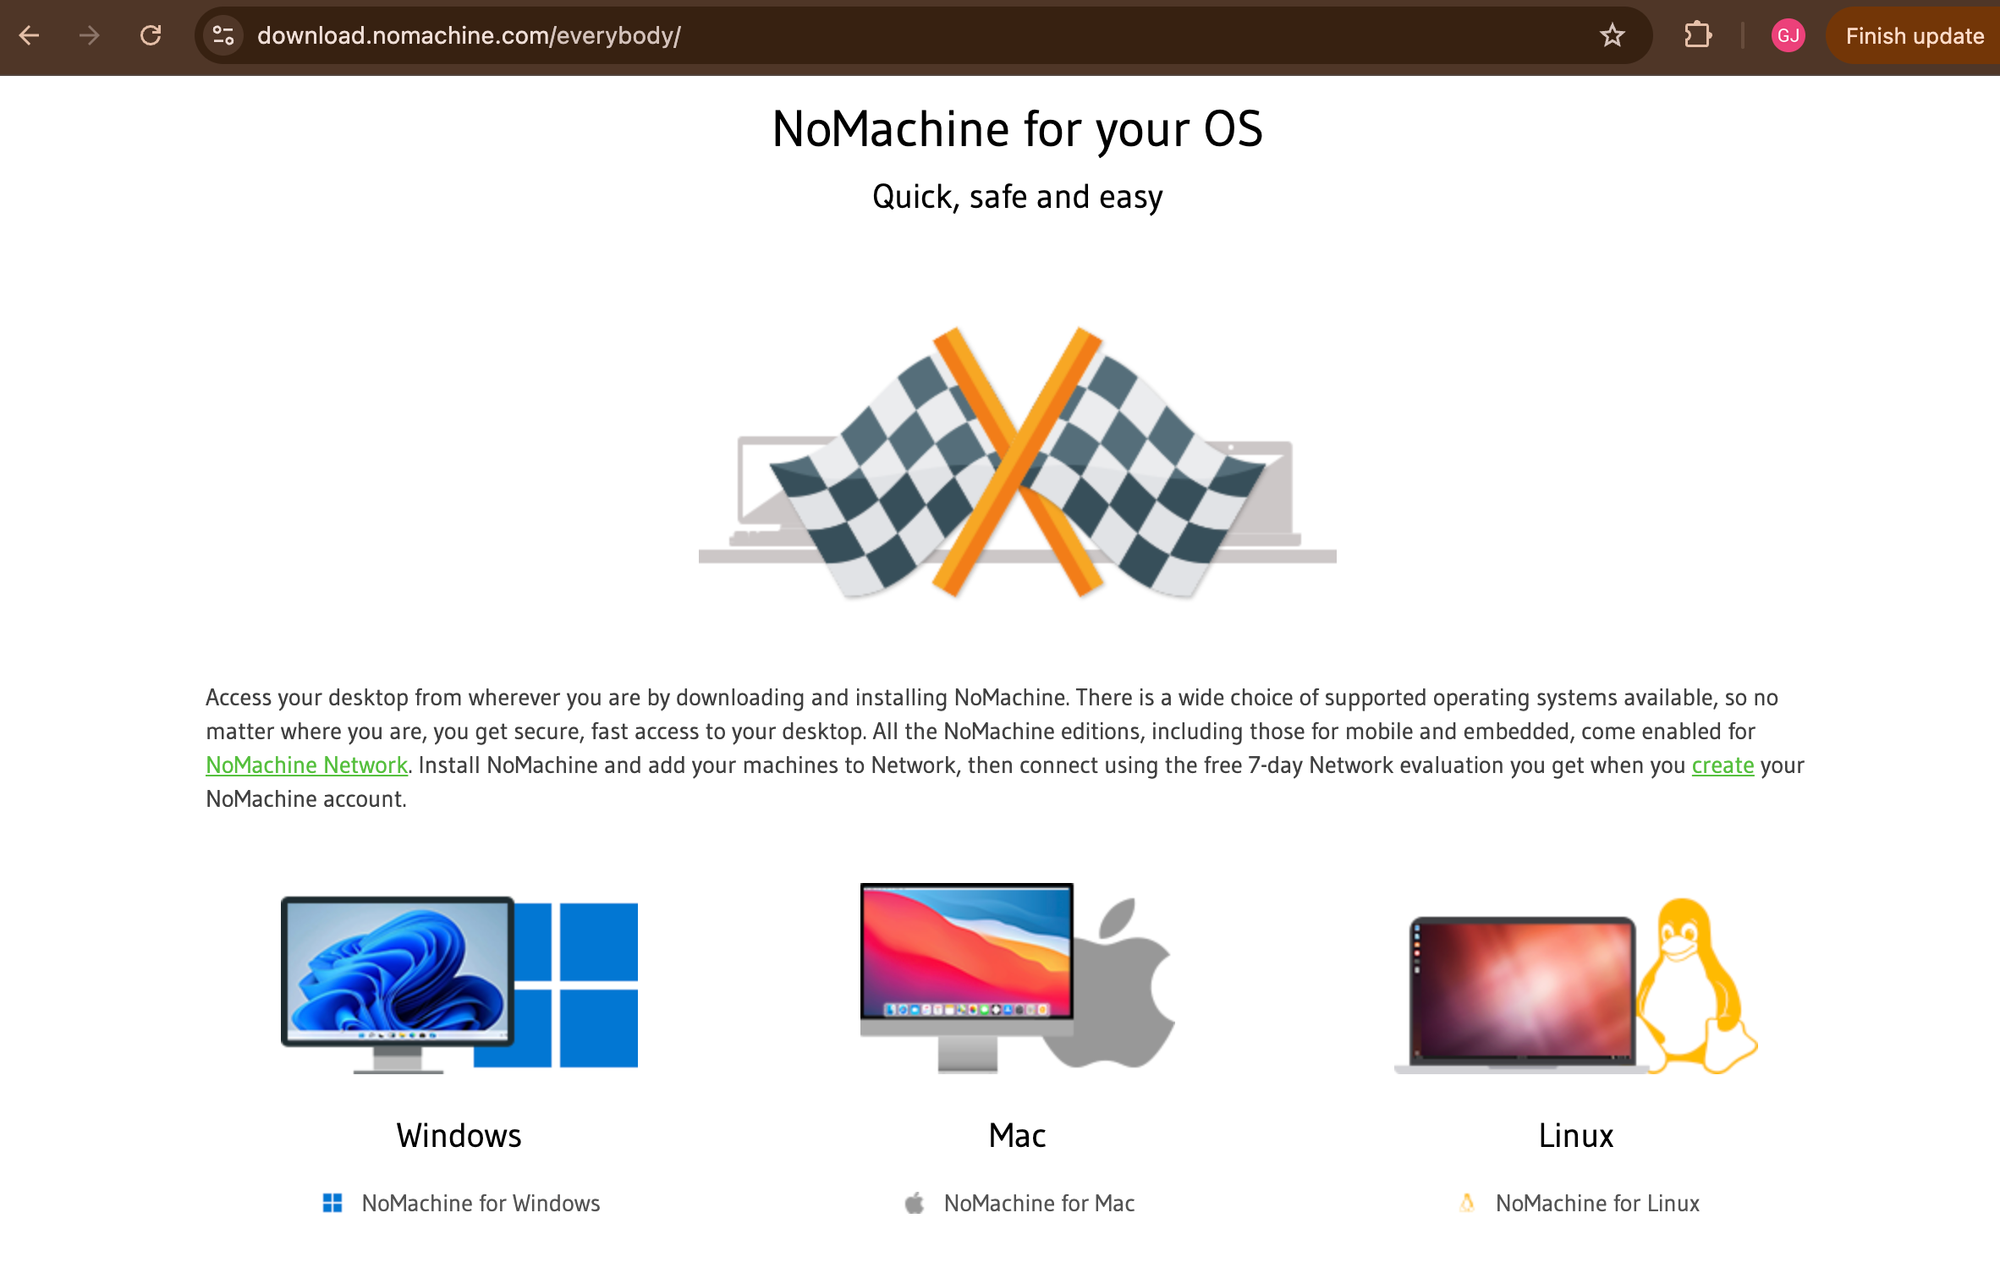
Download NoMachine for your OS from here:
- https://www.nomachine.com/everybody/nomachine-for-your-os
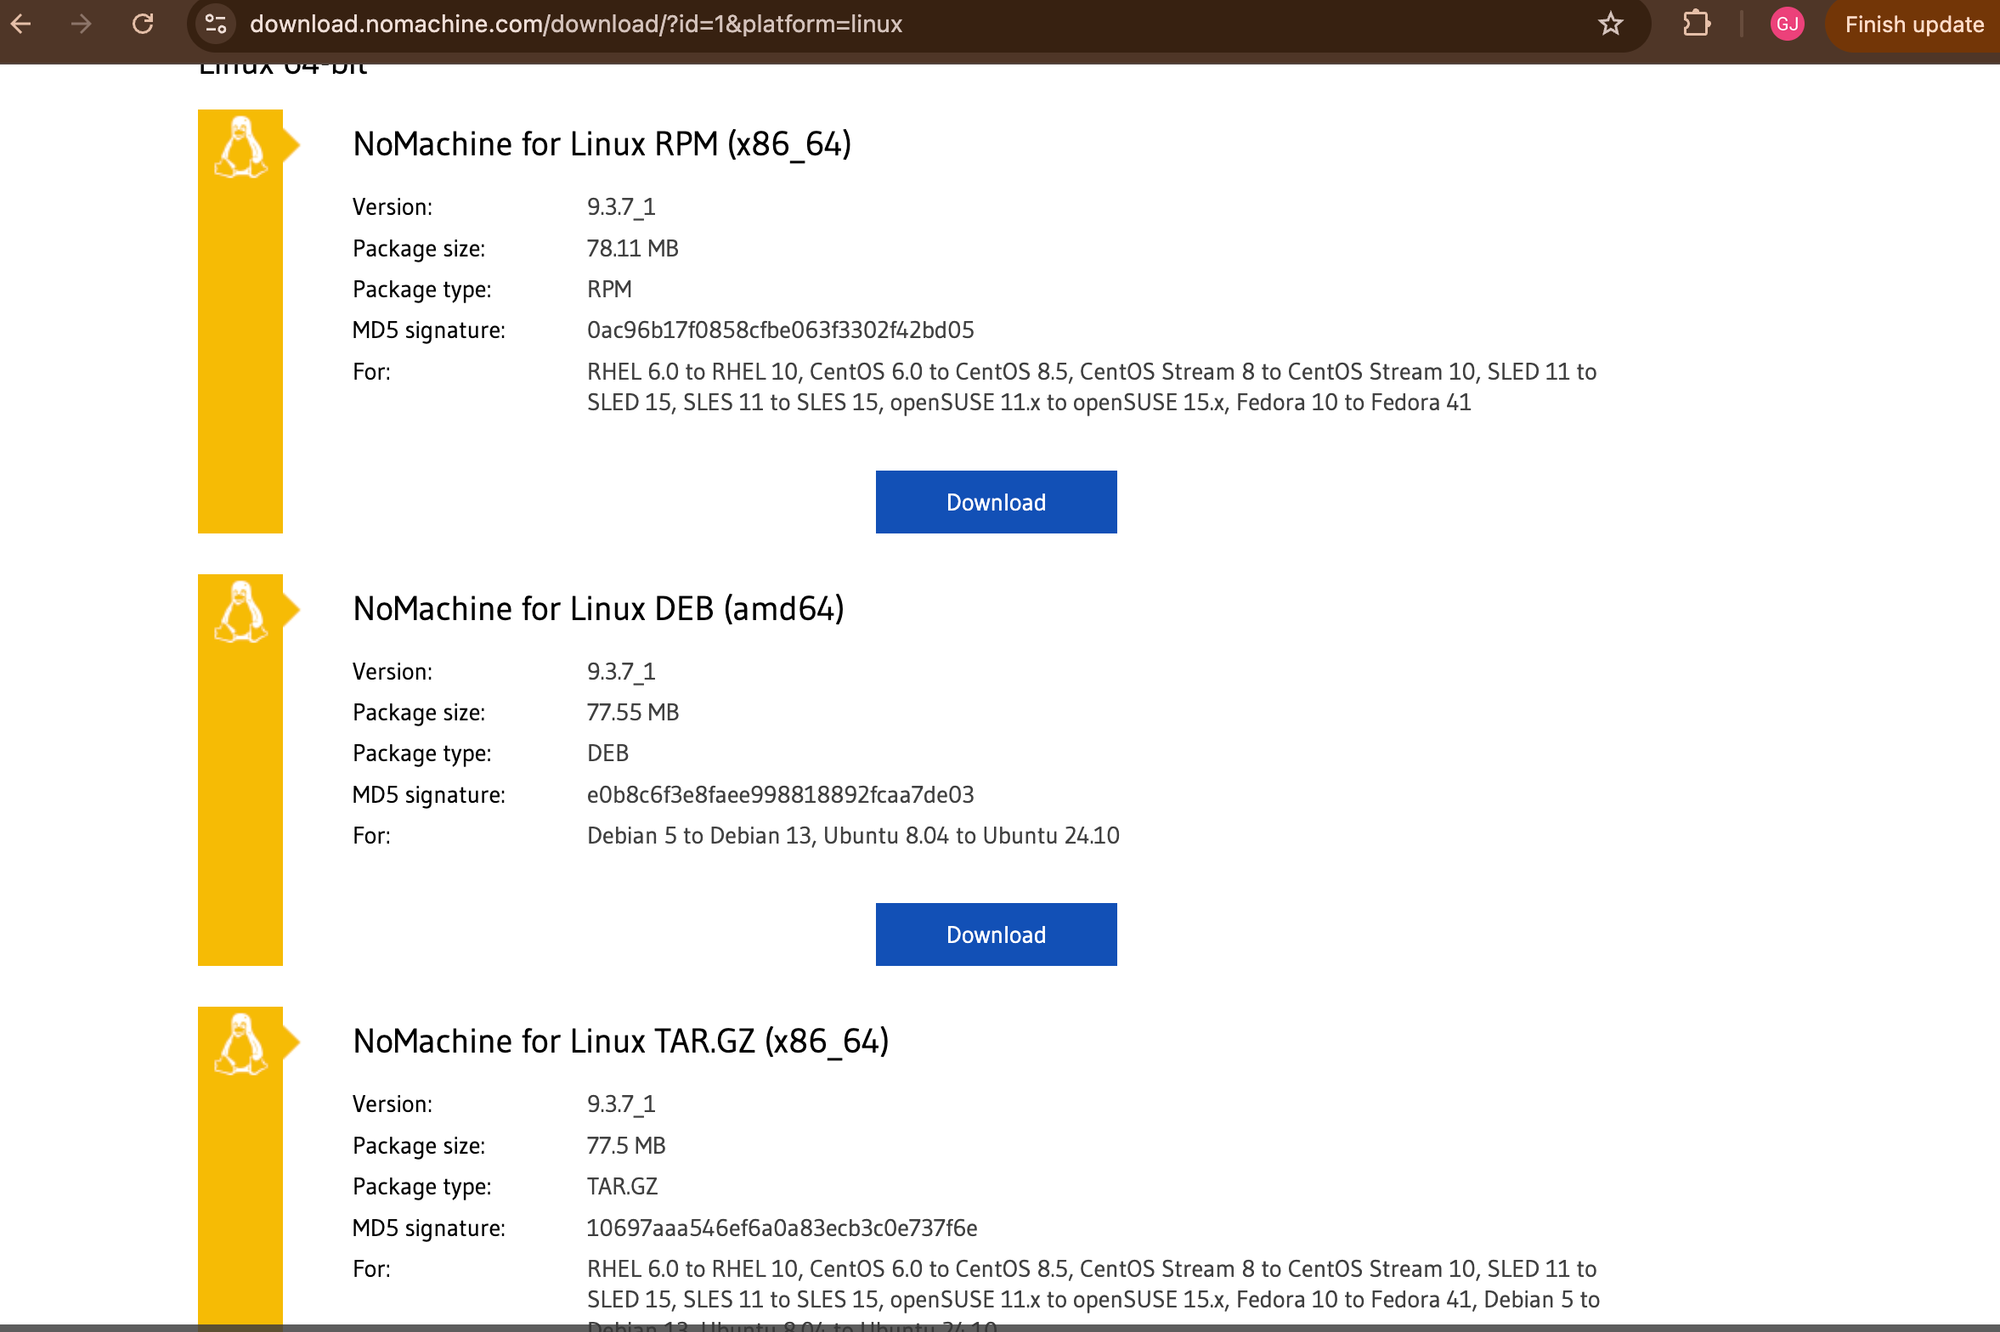
In my case I used the Debian/Ubuntu package:
- https://web9001.nomachine.com/download/9.3/Linux/nomachine_9.3.7_1_amd64.deb
Then install it:
sudo dpkg -i nomachine_9.3.7_1_amd64.deb(If dpkg complains about missing dependencies, this fixes it:)
sudo apt -f installmacOS: Install NoMachine (Client)
On my MacBook I installed it via Homebrew:
brew install --cask nomachineThen macOS will ask for permissions. I granted what it requested (notably Screen Recording and a couple of related accessibility-style permissions). This is normal for remote desktop apps — it needs the OS to allow capturing and sending the display. (Without it, you get a “connects but doesn’t really work” experience.)
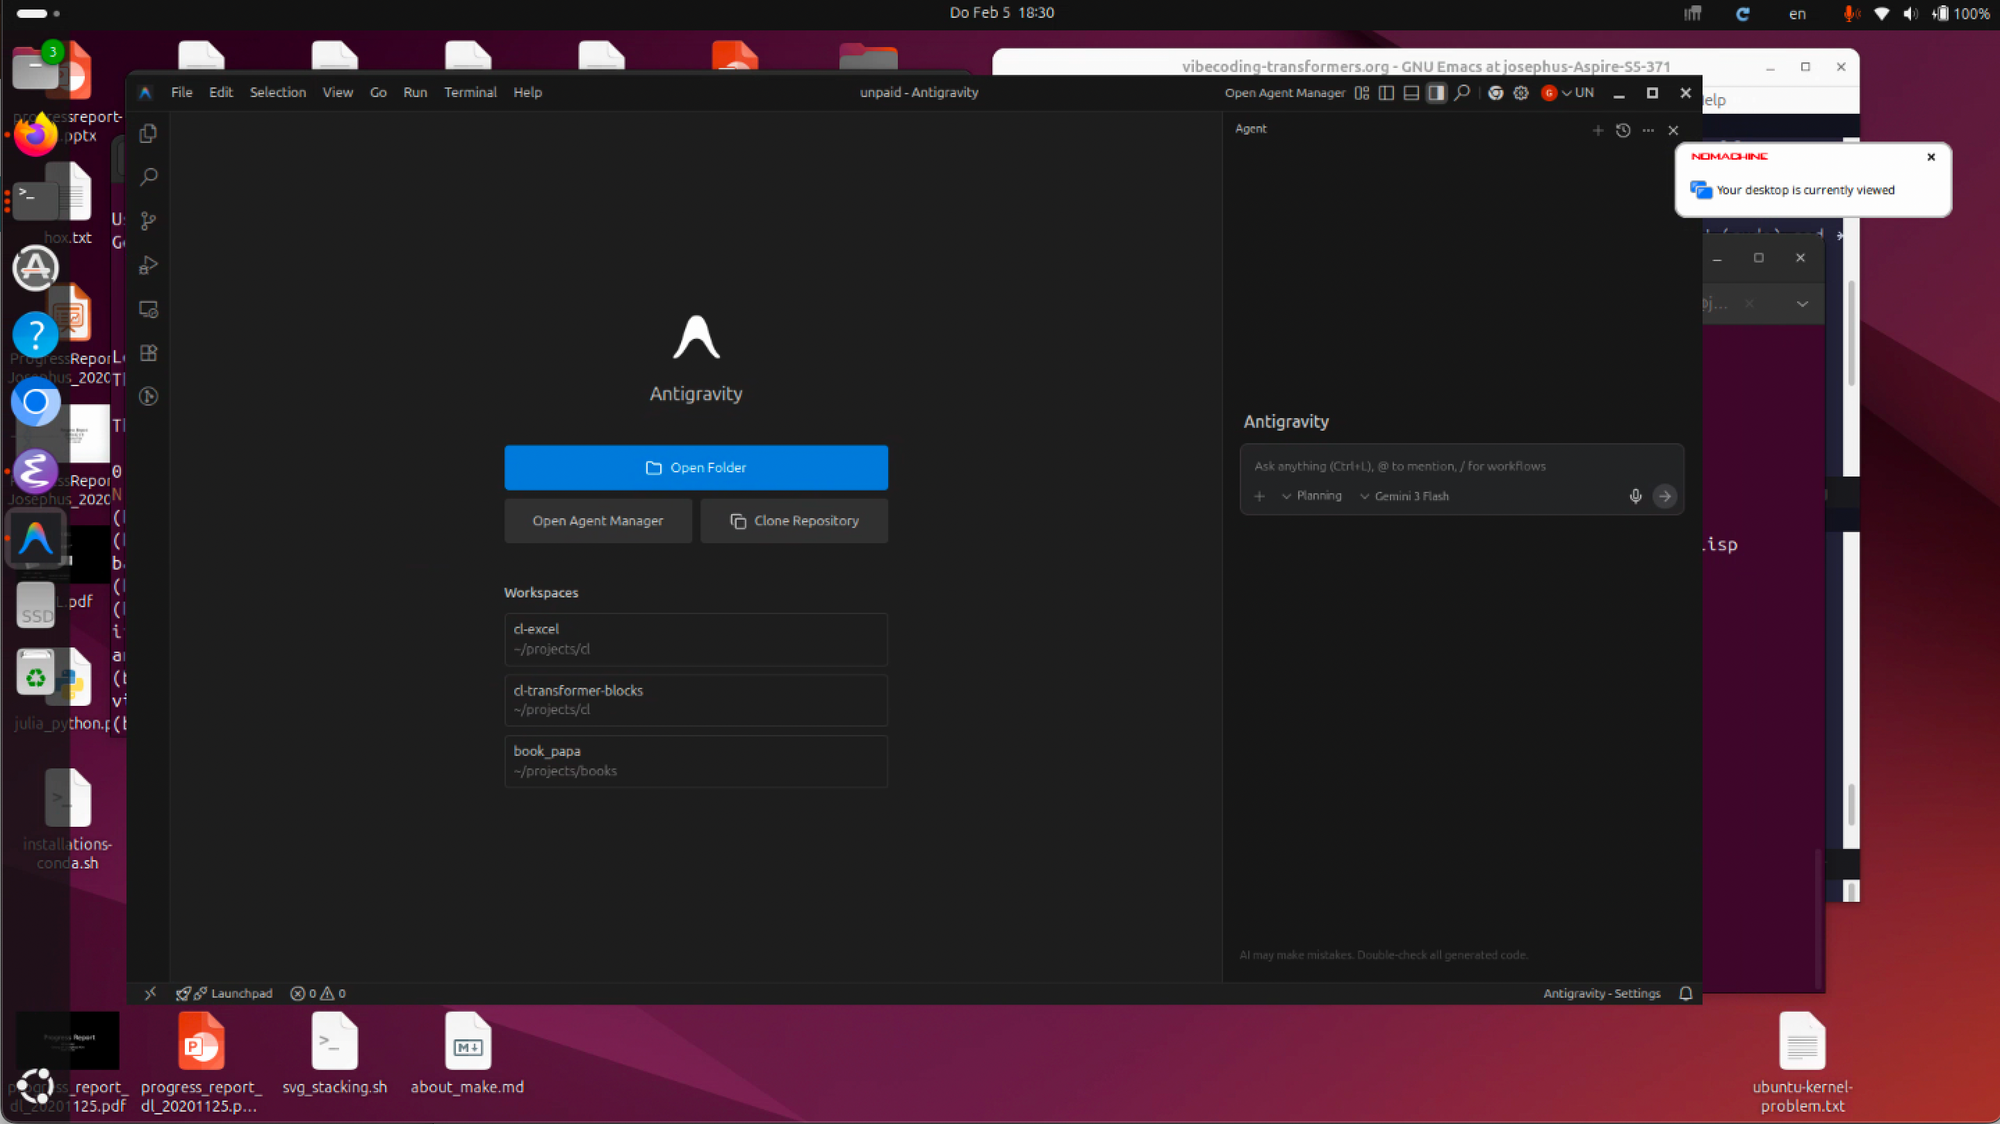
Connect: The “It Just Shows Up” Moment
Then in your MacOS:
- Press Cmd + Space
- Type NoMachine
- Start it
NoMachine actually auto-discovered my Linux desktop on the local Wi-Fi. I clicked it, hit connect, logged in with my Linux user, and… done.
And suddenly Antigravity behaved like it was local.
The rule of thumb I ended up with
- Want to offload compute + mostly click around + let Antigravity generate?SSH + XQuartz is totally fine.
- Want to write/edit text interactively in the VSCode editor for real work?Use NoMachine.
That’s the split.
It’s not a moral failing. It’s not “you configured it wrong.” It’s just choosing the right tool:
- X11 forwarding is a great lightweight scalpel.
- NoMachine is the comfortable workbench where your hands don’t slip.
And if this little epilogue saved you a weekend of debugging cursor teleportation… you’re welcome.